Is the Celestron Nexstar 6SE astronomy telescope worth the money?
19 April 2022 | Admin
The Celestron Nexstar 6SE was a telescope I had put a lot of research into, and I took the plunge, I am not disappointed.
The quality of the Tripod seems really good. It is solid and chunky and comes virtually fully assembled. The only bit of assembly is to screw on the eyepiece storage tray, which is just one hand nut and is very simple. There are 3 hand adjustable screws which you loosen off to adjust the length of the legs, which again is very easy to do. The next step is to mount the GoTo part of the Tripod, This again is just a case of locating the bolts and tightening four hand screws, it is very easy to do. There are rubber bottoms to the Tripod which stops any movement once it is assembled and provides a solid base for the telescope.
Being a GoTo telescope mount, it is pretty heavy and appears very well-made. There are a couple of connections for plugging your accessories into the mount, and also a power supply input and an on-off switch. I decided to buy a Celestron PowerTank Lithium LT power supply to plug straight into the mount instead of bothering with batteries, as I had read in a lot of reviews that the batteries run out very quickly, and I also didn't want to run an extension cable to the telescope. I have been out for 4 hours using the lithium battery pack with no issues whatsoever, so I think that this was a good purchase.
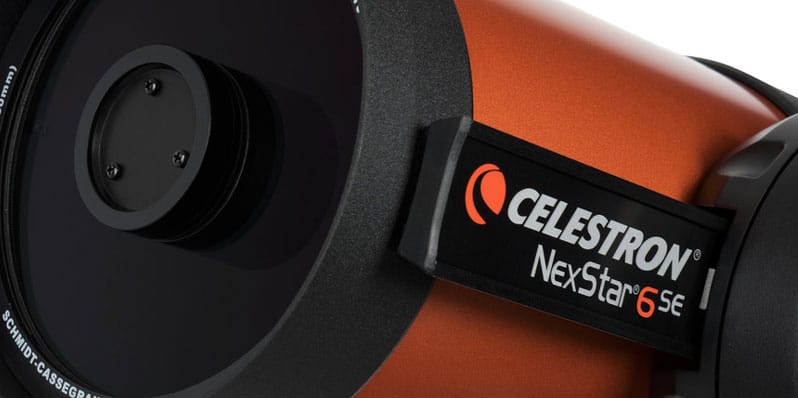
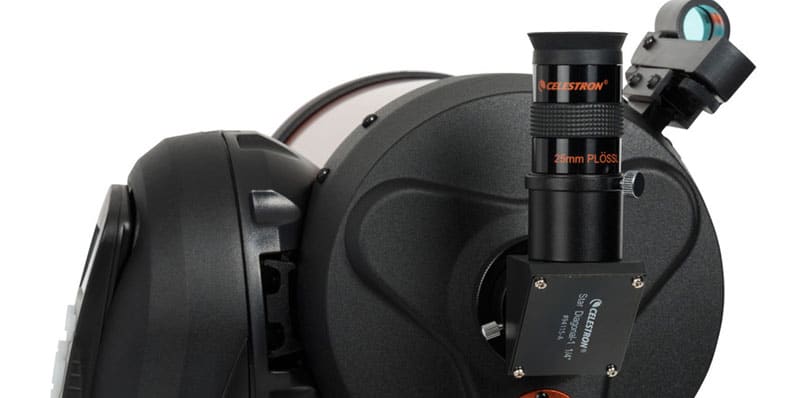
The Celestron Nexstar 6SE telescope itself is a lovely shade of orange and comes pretty much fully assembled. The only thing you have to do is to attach the red dot finder, which has two screws. You need a screwdriver to do this bit, but it really is a simple task. To attach the telescope to the mount there is a dovetail groove in the GoTo mount with a single hand screw, you just undo this handscrew and slide the telescope into position and tighten. I did find this a little bit daunting on the first attempt, but a couple of practice attempts with some cushions around the tripod at its lowest setting seemed to lower the anxiety levels. Once you get the technique of attaching the telescope to the mount, it is a straightforward task.
Once you have the telescope assembled I took it outside during the daytime to line up the red dot finder with the eyepiece of the telescope, I used the supplied 25 mm eyepiece. I used the top of a chimney pot to do this. Be careful to point the telescope away from the sun then get the object into view in your eyepiece, then turn the red dot finder on and adjust it with the two adjusting screws until the red dot is pointing at the same object and that is all there is to that.
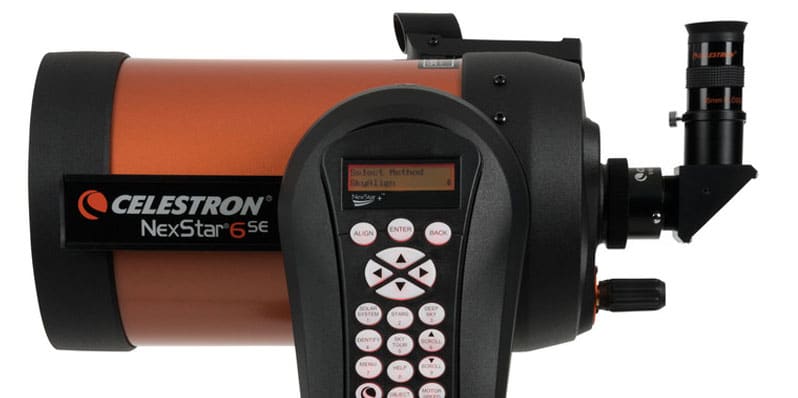
When using the Nexstar 6SE telescope for the first time at night especially when you are lining up the stars to align the telescope it is a great idea to read the instructions and also watch the YouTube videos on how to set it up as it can be a little confusing. You have to put some details into the handset like time, date, where you are in the world. I just chose my nearest city, but you can put in grid location and which time saving hours you are in. You then have to move the telescope around the night sky to pick out three bright stars and follow the instructions on the handset. If I have one criticism of the handset, it is that it isn't easy to read, as the lettering isn't that clear. Once the telescope is aligned, which took me two attempts as it failed the first time, but I think that was more down to me. You can just scroll through the menu on the handset and select what you want to see, and the telescope just moves automatically and to my amazement the star I selected was right there in the middle of my eyepiece!. You do have to obviously get the object into focus which can take a little while as the focus on the telescope is very fine, so it takes a lot of twisting until you get a clear image, but once it is in focus the view from the telescope is very impressive.
I highly recommend using an App like Stellarium if you are new to astronomy like me, as this can give you the names of the stars and clusters and planets that are visible. You can then just select it from the menu in the handset of the GoTo mount, and a few seconds later the telescope has swung its way around and the object is right there in your eyepiece. I have to say I am super impressed with this function. I also have just used the telescope manually using the red dot finder and the arrows on the handset. If you have aligned the red dot finder well, this is also a great way to locate things in the night sky.
Up to date, I have had the most amazing views of Saturn and Jupiter. I could clearly see the rings around Saturn and even the gap in between the planet and the rings, which blew my mind! I got a fabulous view of Jupiter and the four visible moons. Not only that, but I could also pick out the slight difference in colour of the clouds of Jupiter, which again was simply beautiful. I have had some pretty detailed images of the moon and its craters but beware it is really bright, so I did end up buying a moon filter but the detail and clarity of the view through the telescope really is incredible.
Other than that, I have just been looking at the stars twinkling away in the night sky. I have literally just spent hours moving the telescope around looking at different stars and wondering how there are so many more stars there than you can see with just the naked eye.
I highly recommend this telescope. It is a fairly big investment, but the enjoyment I have already had from it is well worth the money.
Review by Mark R.


